This is sorta dumb. I wanted a second pin for IE, one for regular use, and one for something I'm developing. This seemed simple - make a local file and just pin it. Of course, it doesn't work - the link just gets pinned to IE.
So in desparation I just made this dummy page. I could have made a pinned site from just about anything, but I kinda liked the idea of using a custom icon.
I can't be the only one that hates surfing thru a list of 20 reference links to find the browser instance that's displaying my current project right?
B
If you have a test project, you'll get tired of keeping your configs in sync. Depending how you're project is setup, sometimes you can refer some sections to a centralized config. However most of the time I prefer to just use a post build event to copy the file from one project to another.
copy $(SolutionDir)MyWebProject\Web-ConnectionStrings.config $(ProjectDir)MyProject.Tests.ConnectionStrings.config
echo ^<!--copied via post-build event in $(ProjectName)--^> >>$(ProjectDir)MyProject.Tests.ConnectionStrings.config
The first line copies the file. But I wanted myself or other developers to know that the file is being overwritten, so I added the second line which appends a message to the end of the file.
I needed to see which services in a wcf project were taking an unfair share of time. The most accessible method is to analyze the iis logs. However, I didn’t want to spend all day figuring out how to use some of the analytical features in Excel so I opted to use SQL instead.
Converting the File
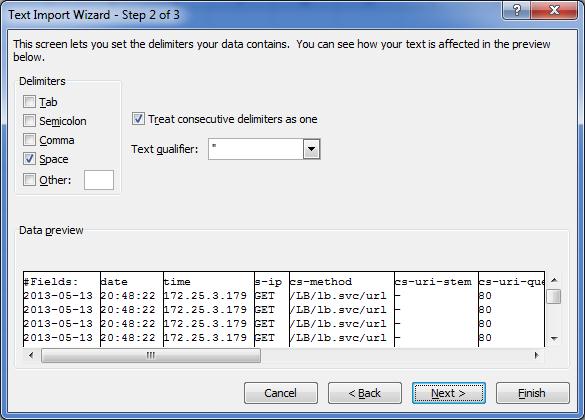
The logs are in a space delimited text format by default so you’ll need to convert it to an Excel file instead.
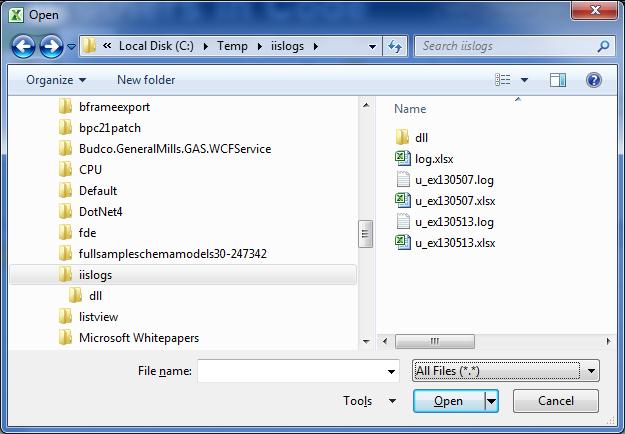
Open excel, and then chose File.Open and browse to your file. You’ll need to change the filter to “all files”
In this case the IIS Logs are space delimited…
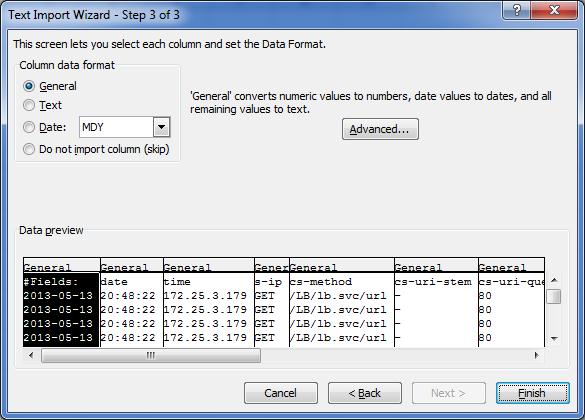
For the most part “general” data type is fine, but you may need to return here and change this if you run into a data type error in your query.
Save the file. Select No when prompted to save in the current format and select xlsx instead.

Querying the Excel File
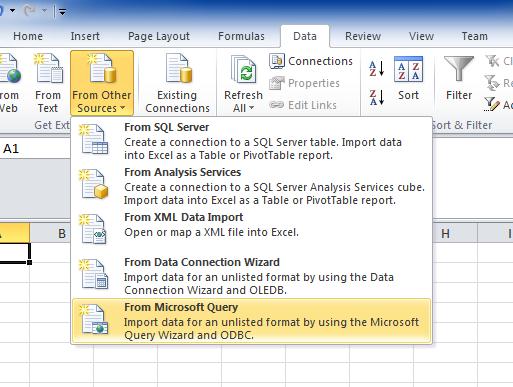
Create a blank workbook. On the data tab, select From Other Sources. From Microsoft Query.
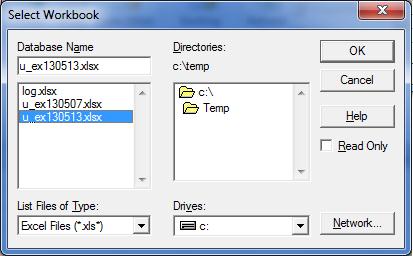
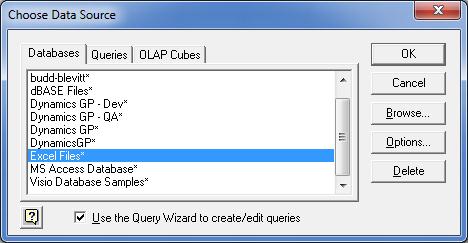
Choose Excel Files as the data source and then select the Excel file you just created.
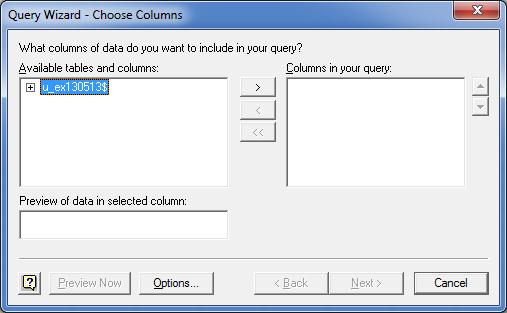
You’ll be prompted to choose columns. You can use the picker or just click cancel to go right to the designer (say yes at the prompt to continue editing).
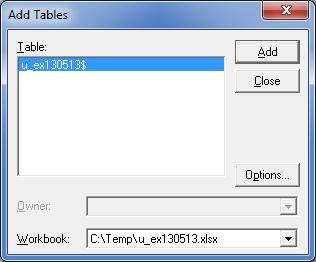
Add the table(s) (sheets) from your Excel file that you’d like to query.
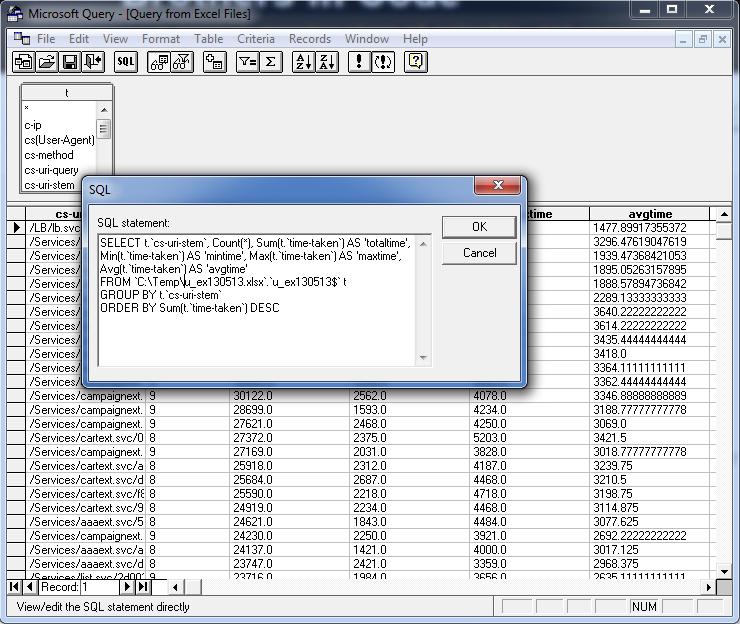
From there you’ll be in the designer. You may want to just double click on the ‘*’ in the column selector and click the “SQL” button to get you started. After that you can execute whatever SQL you like. For example, group by request, the top running pages:
SELECT t.`cs-uri-stem`, Count(*), Sum(t.`time-taken`) AS 'totaltime', Min(t.`time-taken`) AS
'mintime', Max(t.`time-taken`) AS 'maxtime', Avg(t.`time-taken`) AS 'avgtime'
FROM `C:\Temp\u_ex130513.xlsx`.`u_ex130513$` t
GROUP BY t.`cs-uri-stem`
ORDER BY Sum(t.`time-taken`) DESC
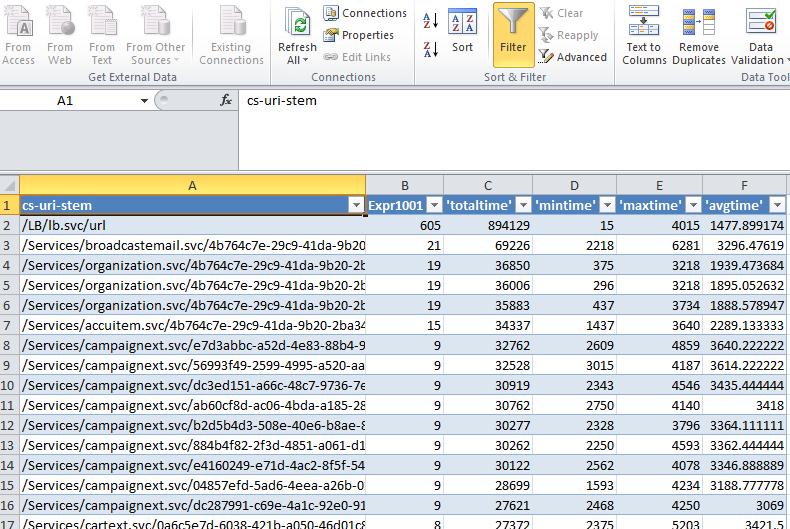
Click ok in your query and then close query editor. You’ll then pop back into excel and will be prompted for a starting cell to place your query data.

Done. If you know SQL better than you know the functions in Excel, this is a much easier way to analyze a spreadsheet.
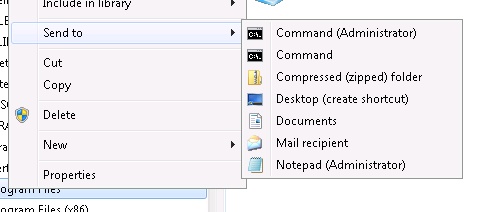
Some of the new user access control features drive me nuts. For example I can't stand it when you open a non-user file in notepad, only to get an access denied message when you save it. Yes I know I could start notepad as administrator and browse to the file again. But that kills me every single time. Years ago I used to add notepad to my 'Send to' menu and decided it was time to resurrect that practice.
Adding Notepad to the 'Send to' Menu
- Open Windows Explorer and type shell:sendto in the address bar.
- Click the Windows/Start button and type notepad into the search box.
- Right-click-drag Notepad to your 'Send to' folder and select "create shortcut here".
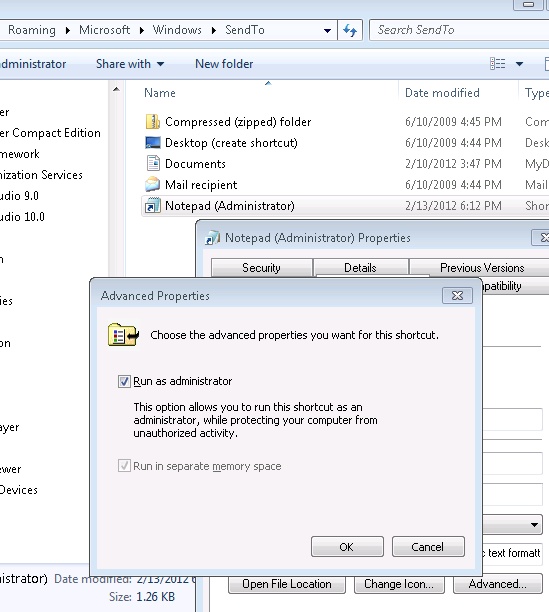
- In the properties of the short cut, click advanced, and check the 'Run as administrator' box.
Now we've got a quick way to edit a file without browsing to a folder twice. But this got me thinking. It would be nice not to have to copy and paste the path when I need to work in a folder with a command prompt.
Adding Cmd.exe to the 'Send to' Menu and Automatically Change the Path
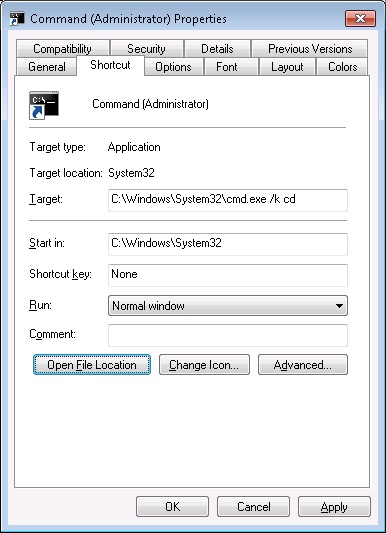
From the notepad example above, it's pretty obvious that the path is sent as the first parameter to the shortcut command. We can take advantage of that for a new command line shortcut.
- Click the Windows/Start button and type cmd into the search box.
- Right-click-drag cmd.exe to your 'Send to' folder and select "create shortcut here".
- Right-click the shortcut and choose properties.
- Go to the shortcut tab and change the target to C:\Windows\System32\cmd.exe /k cd
- Click advanced, and check the 'Run as administrator' box (optional).
Removing the Drives
The last thing I noticed was that my new and improved 'send to' menu was polluted with all of my network drives and removable drives so searched for a way to take them out and found the answer at winhelponline.com. The answer boils down to:
- Navigating in regedit to HKEY_CURRENT_USER\Software\Microsoft\Windows\CurrentVersion\Policies\Explorer
- Add a Dword Value of 1 with the name NoDrivesInSendToMenu
- Logoff/Logon
The result should save me a key stroke or two :)
